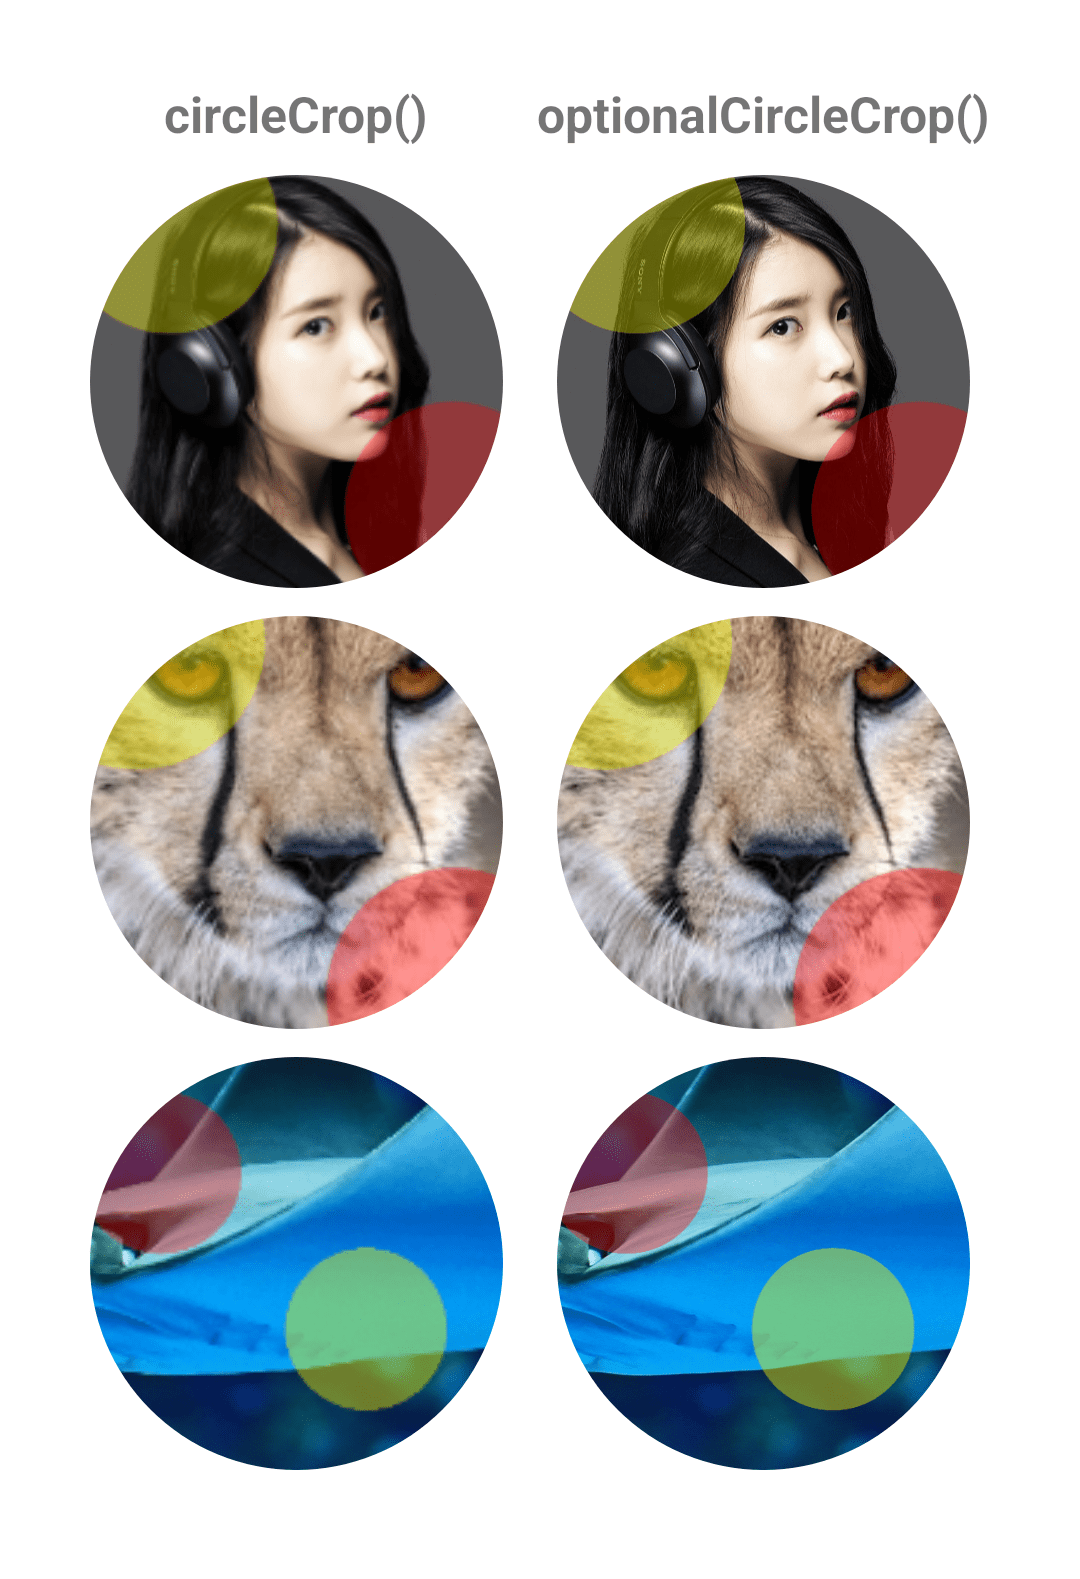
Glide로 불러오는 이미지의 종횡비가 크다면, optionalCircleCrop()가 필수
Glide를 사용하는 경우 가로/세로의 비율(=종횡비)이 큰 경우 이미지가 뿌옇게 나오는 현상이 있습니다.
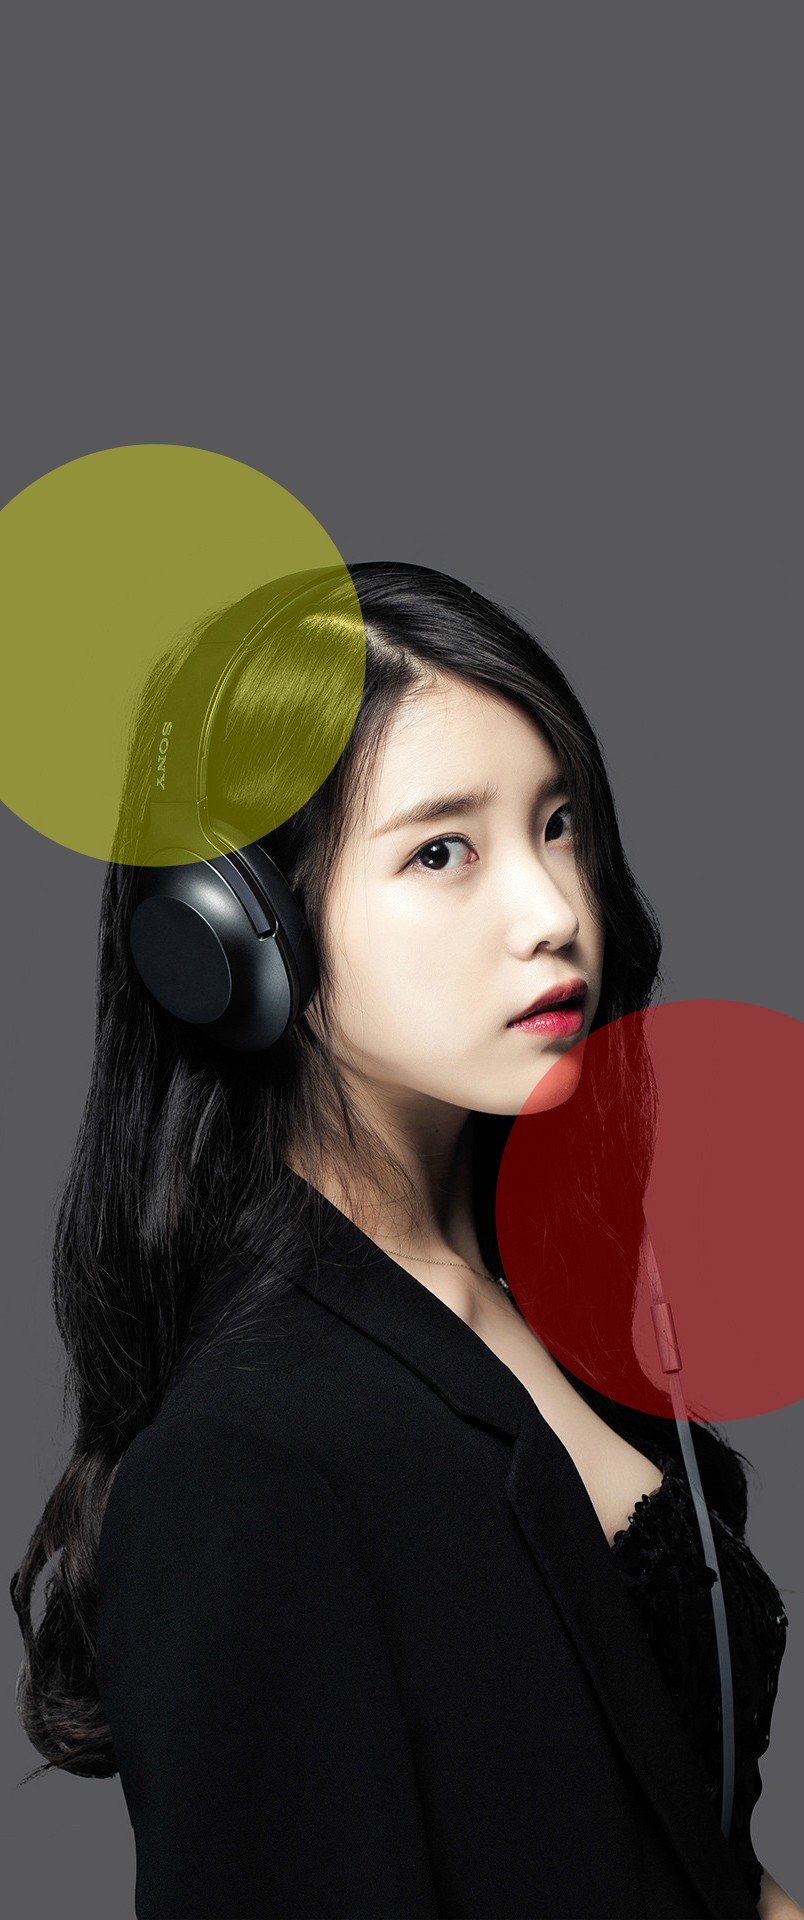
샘플로 사용한 이미지 정보입니다.
- 아이유 사진 : 804x1920
- 치타 사진 : 168x519
- 물고기 사진 : 2970x996
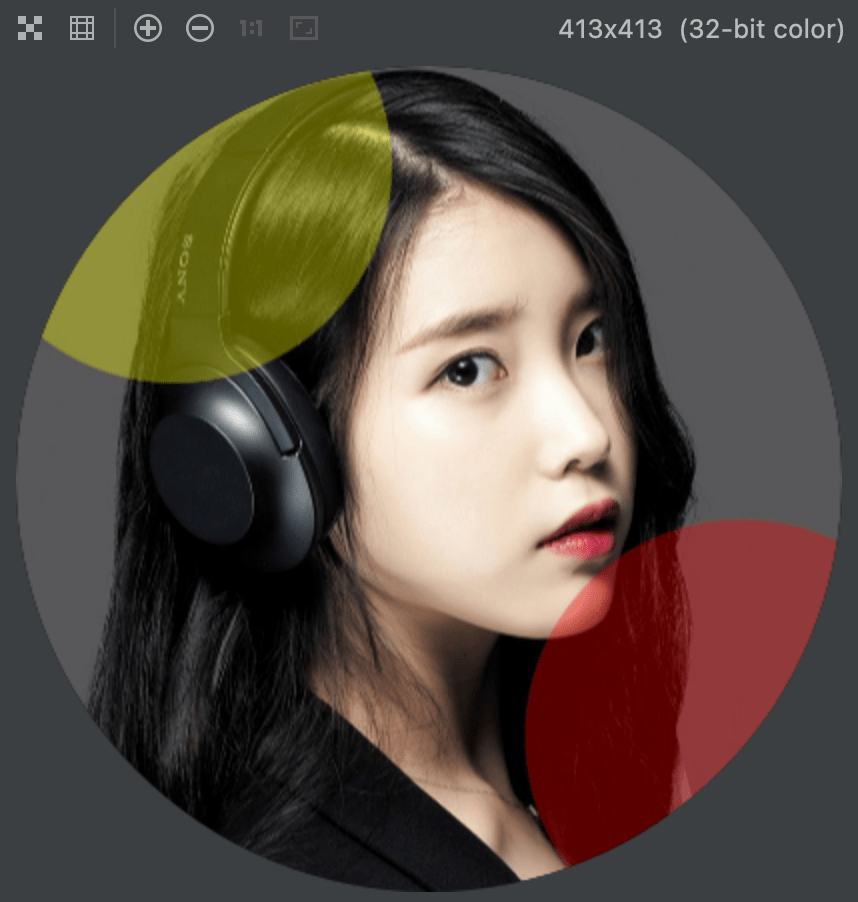
- ImageView : 413x413 (= 150dp Pixel 3a 기준)
왼쪽에 있는 이미지 중 치타 이미지를 제외한 첫 번째/세 번째는 선명하게 나와야 하지만, 어째서인지 흐릿하게 나옵니다. 샘플로 사용한 circleCrop 코드도 특별한 내용은 없습니다.
Glide.with(this)
    .load(R.drawable.sample_vertical)
    .circleCrop()
    .into(binding.sample1)
이번 글에서는 해당 현상이 발생하는 이유를 살펴보도록 하겠습니다.
샘플 소스 : https://github.com/Pluu/GlideCircleCropSample
Glide의 circleCrop()
circleCrop() 옵션은 이미지 다운 샘플링으로 CENTER_INSIDE를 사용 중입니다.
CENTER_INSIDE는 이미지의 가로/세로 scale 결과가 요청한 가로/세로보다 같거나 작게 만듭니다.
DownsampleStrategy#CENTER_INSIDE
Identical to FIT_CENTER, but never upscales.
Scales, maintaining the original aspect ratio, so that one of the image’s dimensions is exactly equal to the requested size and the other dimension is less than or equal to the requested size. This method will upscale if the requested width and height are greater than the source width and height. To avoid upscaling, use AT_LEAST, AT_MOST or CENTER_INSIDE.
On pre-KitKat devices, FIT_CENTER will downsample by a power of two only so that one of the image’s dimensions is greater than or equal to the requested size. No guarantees are made about the second dimensions. This is NOT the same as AT_LEAST because only one dimension, not both, are greater than or equal to the requested dimensions, the other may be smaller.
1) Glide에서 CENTER_INSIDE 이미지 스케일 처리
CenterInside#getScaleFactor에서는 Image Scale값을 FIT_CENTER 중 최솟값을 반환합니다.
@Override
public float getScaleFactor(
    int sourceWidth, int sourceHeight, int requestedWidth, int requestedHeight) {

  return Math.min(
    1.f,
    FIT_CENTER.getScaleFactor(sourceWidth, sourceHeight, requestedWidth, requestedHeight));
}
소스 출처 : https://github.com/bumptech/glide/blob/master/library/src/main/java/com/bumptech/glide/load/resource/bitmap/DownsampleStrategy.java#L262-L269
그리고 FitCenter#getScaleFactor는 요청한 이미지 크기와 원본 사이즈 Scale 값 중 최솟값을 사용합니다.
float widthPercentage = requestedWidth / (float) sourceWidth;
float heightPercentage = requestedHeight / (float) sourceHeight;
return Math.min(widthPercentage, heightPercentage);
소스 출처 : https://github.com/bumptech/glide/blob/master/library/src/main/java/com/bumptech/glide/load/resource/bitmap/DownsampleStrategy.java#L142-L157
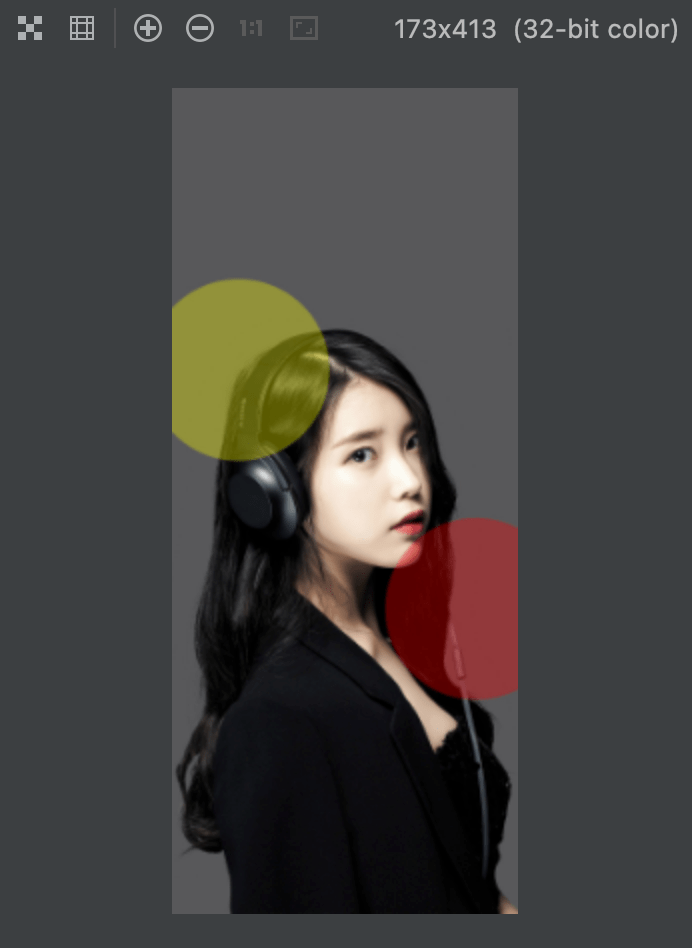
2) 결과
| 원본 이미지 | 스케일된 이미지 | 최종 이미지 |
|---|---|---|
 |
 |
 |
| 804x1920 | 173x413 | 413x413 |
결과로 circleCrop는 아래 순서로 작동합니다.
- 원본 리소스를 타깃 ImageView의 크기에 맞게 이미지를 작게 생성합니다. 이 때, 이미지는 ImageView 크기와 같거나 작게 생성됩니다. (=CENTER_INSIDE)
- 1번 작업의 결과로 Circle Crop을 진행
Glide의 optionalCircleCrop()
optionalCircleCrop() 옵션은 이미지 다운 샘플링으로 CENTER_OUTSIDE를 사용 중 입니다.
CENTER_OUTSIDE는 이미지의 가로/세로 scale 결과가 요청한 가로/세로보다 같거나 크도록 만듭니다.
DownsampleStrategy#CENTER_OUTSIDE
Scales, maintaining the original aspect ratio, so that one of the image’s dimensions is exactly equal to the requested size and the other dimension is greater than or equal to the requested size. This method will upscale if the requested width and height are greater than the source width and height. To avoid upscaling, use AT_LEAST, AT_MOST, or CENTER_INSIDE.
1) Glide에서 CENTER_OUTSIDE 이미지 스케일 처리
CenterOutside#getScaleFactor에서는 원본 이미지와 요청한 타깃 이미지의 가로/세로로 계산된 scale값 중 최댓값을 사용합니다
@Override
public float getScaleFactor(
    int sourceWidth, int sourceHeight, int requestedWidth, int requestedHeight) {
  float widthPercentage = requestedWidth / (float) sourceWidth;
  float heightPercentage = requestedHeight / (float) sourceHeight;
  return Math.max(widthPercentage, heightPercentage);
}
소스 출처 : https://github.com/bumptech/glide/blob/master/library/src/main/java/com/bumptech/glide/load/resource/bitmap/DownsampleStrategy.java#L178-L184
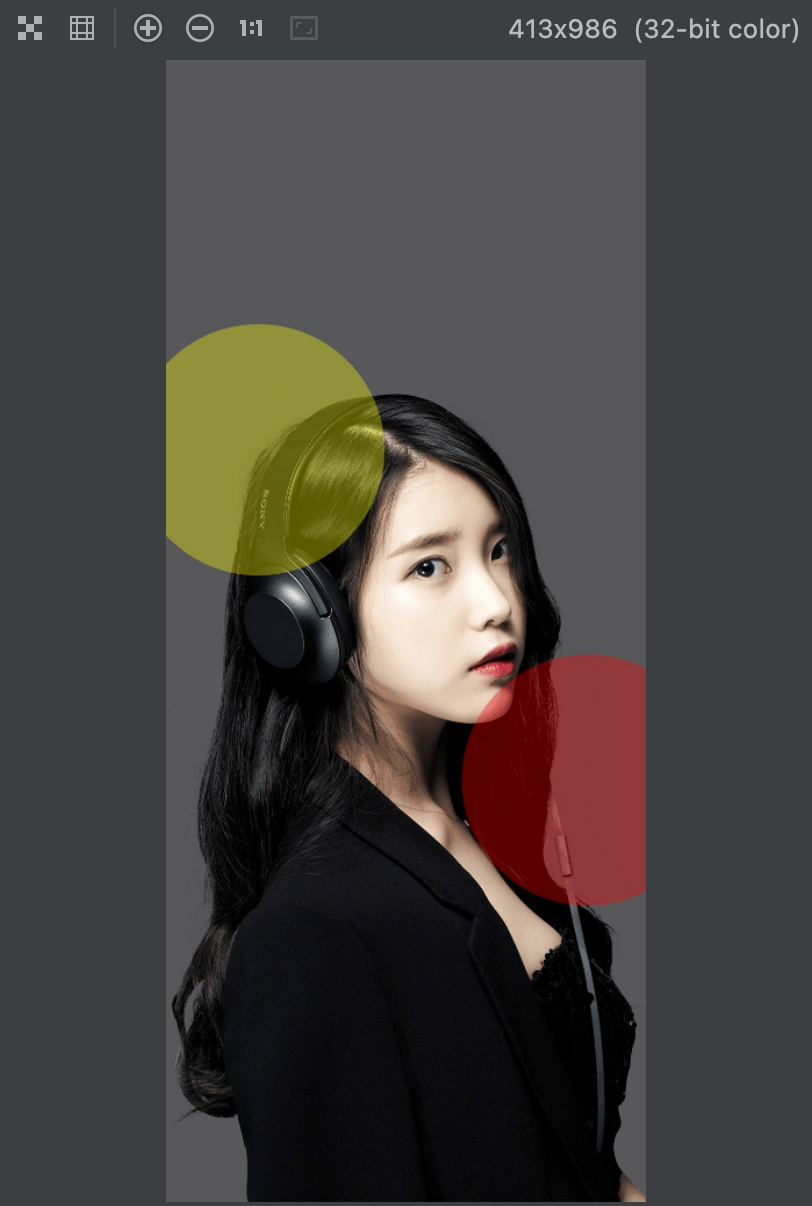
2) 결과
| 원본 이미지 | 스케일된 이미지 | 최종 이미지 |
|---|---|---|
|
 |
 |
| 804x1920 | 413x986 | 413x413 |
결과로 optionalCircleCrop는 아래 순서로 작동합니다.
- 원본 리소스를 타깃 ImageView의 크기에 맞게 이미지를 작게 생성합니다. 이 때, 이미지는 ImageView 크기와 같거나 크도록 생성됩니다. (=CENTER_OUTSIDE)
- 가로/세로의 Scale값 중 가장 큰 값을 사용
- 1번 작업의 결과로 Circle Crop을 진행
정리하며
지금까지 circleCrop 사용 시 이미지가 흐릿해지는 원인과 대체 옵션인 optionalCircleCrop의 동작을 살펴봤습니다.
종횡비가 크게 차이나는 이미지 로딩은 흔한 케이스 중 하나입니다. 다만, 왜 더 낮은 표현(=CENTER_INSIDE) 노출이 기본일까?라는 생각을 해보면, 리소스가 제한된 안드로이드 모바일 환경에서 이미지에 할당되는 메모리 용량을 최소화하면서 화질을 유지하게 하기 위해서 한 선택으로 보입니다.
Subscribe
Subscribe to this blog via RSS.
Categories
Recent Posts
- Posted on 19 Apr 2026
- Posted on 15 Mar 2026
- Posted on 10 Mar 2026
- Posted on 30 Dec 2025